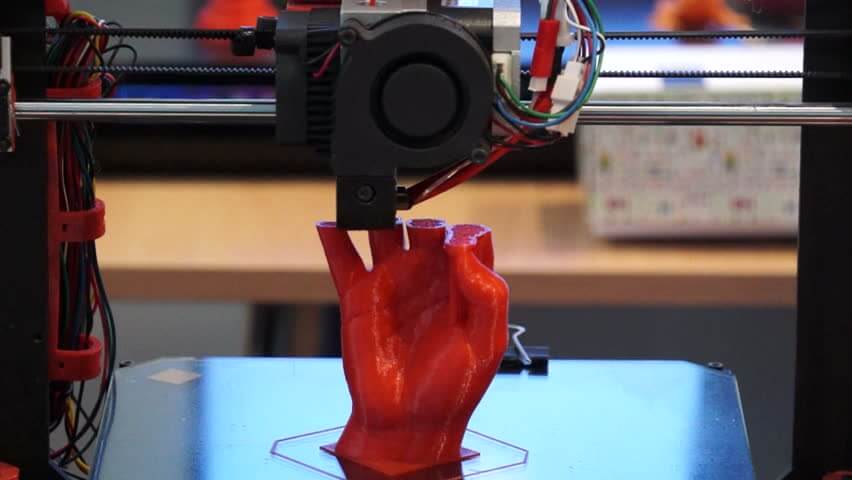
Being one of the latest designing methods, 3D printing technology has come into the limelight due to its aesthetics and uniqueness. The introduction of the resin in designing different structures with the aid of 3D technology, which is also known as stereolithography, has not only helped to provide more durable structures but also helped us to get attractive as well as transparent structures, apart from getting transparent products as an outcome of the implementation of this technology, working with resin filament as the core substance facilitates obtaining different colored models i.e., blue, black, yellow, grey, red and white, etc. This, in turn, lessens the limitations of this computerized designing technology.
The procedure of 3D printing by stereolithography technology:
For achieving perfect 3D printings, having sound knowledge about stereolithography is required. The mainly liquid resin, which is sensitive to UV rays, is used to obtain beautiful designs with laser-oriented 3D technology.
Though the entire process is commenced within a large size tank within which a pre-built platform is present. As the initial step, layers of liquefied resin is spread over the platform. Then, the predetermined design outline is drawn on the smooth surface of the liquid resin by projecting the UV laser beam. The material gets hardened just according to the strike lines drawn by the UV ray.
It’s time to draw the next level on the earlier one by lowering the model. By following this technique, consecutively, 3D model construction is done from the bottom to the top. The structure for holding the entire 3D printed design is automatically formed in due time.
Special tips for 3D designing by using transparent resin:
Forming an attractive design by using 3D printing technology is not an easy task; the following few basic tips may help you obtain the perfect design. Let have a quick view of the designing tips in the following:
Minimizing the thickness of the wall:
Though the wall thickness of a particular model is proportional to the entire model’s size, minimizing the wall thickness will help you obtain a specific structure without any inconvenience. Let’s check the proposed wall thickness for models having different sizes:
- Small-sized models having a 200 mm dimension should have 1 mm wall thickness.
- 2 mm wall thickness is suggested for medium-sized structures having a dimension between 200 mm to 400 mm.
- 3 mm thickness of the wall is perfect for models having large-sized dimensions i.e., more than 400mm.
Determination quality of surface and orientation:
Being designed by one layer after another, the outcome of any on-going 3D printing technology matters a lot. After several observations of 3D printing, it is found that the staircase effect may be exhibited in the case of horizontal stacking while preparing the model. For this reason, vertical stacking of layers is recommended to design a perfect structure.
Prefer hollow designs:
If you want to get rid of the issue like shrinkage after completion of designing and want the process to be economical, you should prefer to hollow designs. This also helps to extract the extra resin present through the hole from the designed structure.
Use a proper support structure:
As the entire process of 3D printing is commenced within a tank and the resin layer is formed just on the build platform, that’s why it is recommended to use a proper durable build structure. Otherwise, after deposition of certain amount resins, you may find that resin is floating away within the tank. In case your model has any section having an angle lesser than 30°, then added support is needed to prevent it from collapsing.
Guidelines for engraving within the 3D model:
The letters having the minimum thickness of 0.5mm is recommended for engraving within a particular design.
Also, read: 3D-printed live bacteria creates the world’s first “living tattoo”
